My pan gravy success from my previous blog entry had me thinking about typical soul/Southern foods. One of my favorite soul foods growing up was calf livers. Back in 1995, I suffered from severe anemia. One of the suggested foods I could infrequently eat in order to get more iron was liver. I recently had a physical and my iron levels were low, so I decided to eat some livers. Of course, liver isn't the only good source of iron. I just wanted some livers and getting the iron was an added bonus.
I rarely take the time to fix livers myself even though they are very simple to prepare. I think one of the reasons so many people don't like the taste of liver is that they choose beef liver over calf liver. Beef liver has a strong flavor, whereas calf liver is milder. Due to this strong flavor, beef liver reminds people of its purpose more than calf liver does. Calf liver can sometimes be hard to come by, forcing people to select beef liver. I was lucky enough to find calf liver in the freezer section in the grocery store. Another reason people may be turned off by livers is that they have no idea how to fix them. Well, now you know how to prepare the delicious dish at least one way. So here we go...
Pan fried calf liver with onions and pan gravy
This dish is an old school classic. Whether you call it soul food or simply Southern food, it’s definitely comfort food. The wonderful thing about this dish is that it can be cooked in just one pan. If you are slightly anemic, as I am, this dish if chocked full of iron. Calf liver goes great with biscuits, hash browns, and eggs for breakfast. It also goes great with biscuits, mashed potatoes, and veggies for dinner.
1 package of calf liver
1 large onion (can be any kind or combination of kinds you enjoy as long as it’s the equivalent of one large one)
1 cup of milk (can be any amount of fat content)
1 cup of flour (2 Tablespoons reserved)
3 Tablespoons of butter
3 Tablespoons of butter
½ cup white or red wine (cooking or regular) OR beef broth (each will have distinctly different flavors)
6 Tablespoons EVOO(extra virgin olive oil)
6 Tablespoons EVOO(extra virgin olive oil)
1 cup of water
Salt
Pepper

The ingredients you will need (sans the water)
Defrost the package of calf liver.

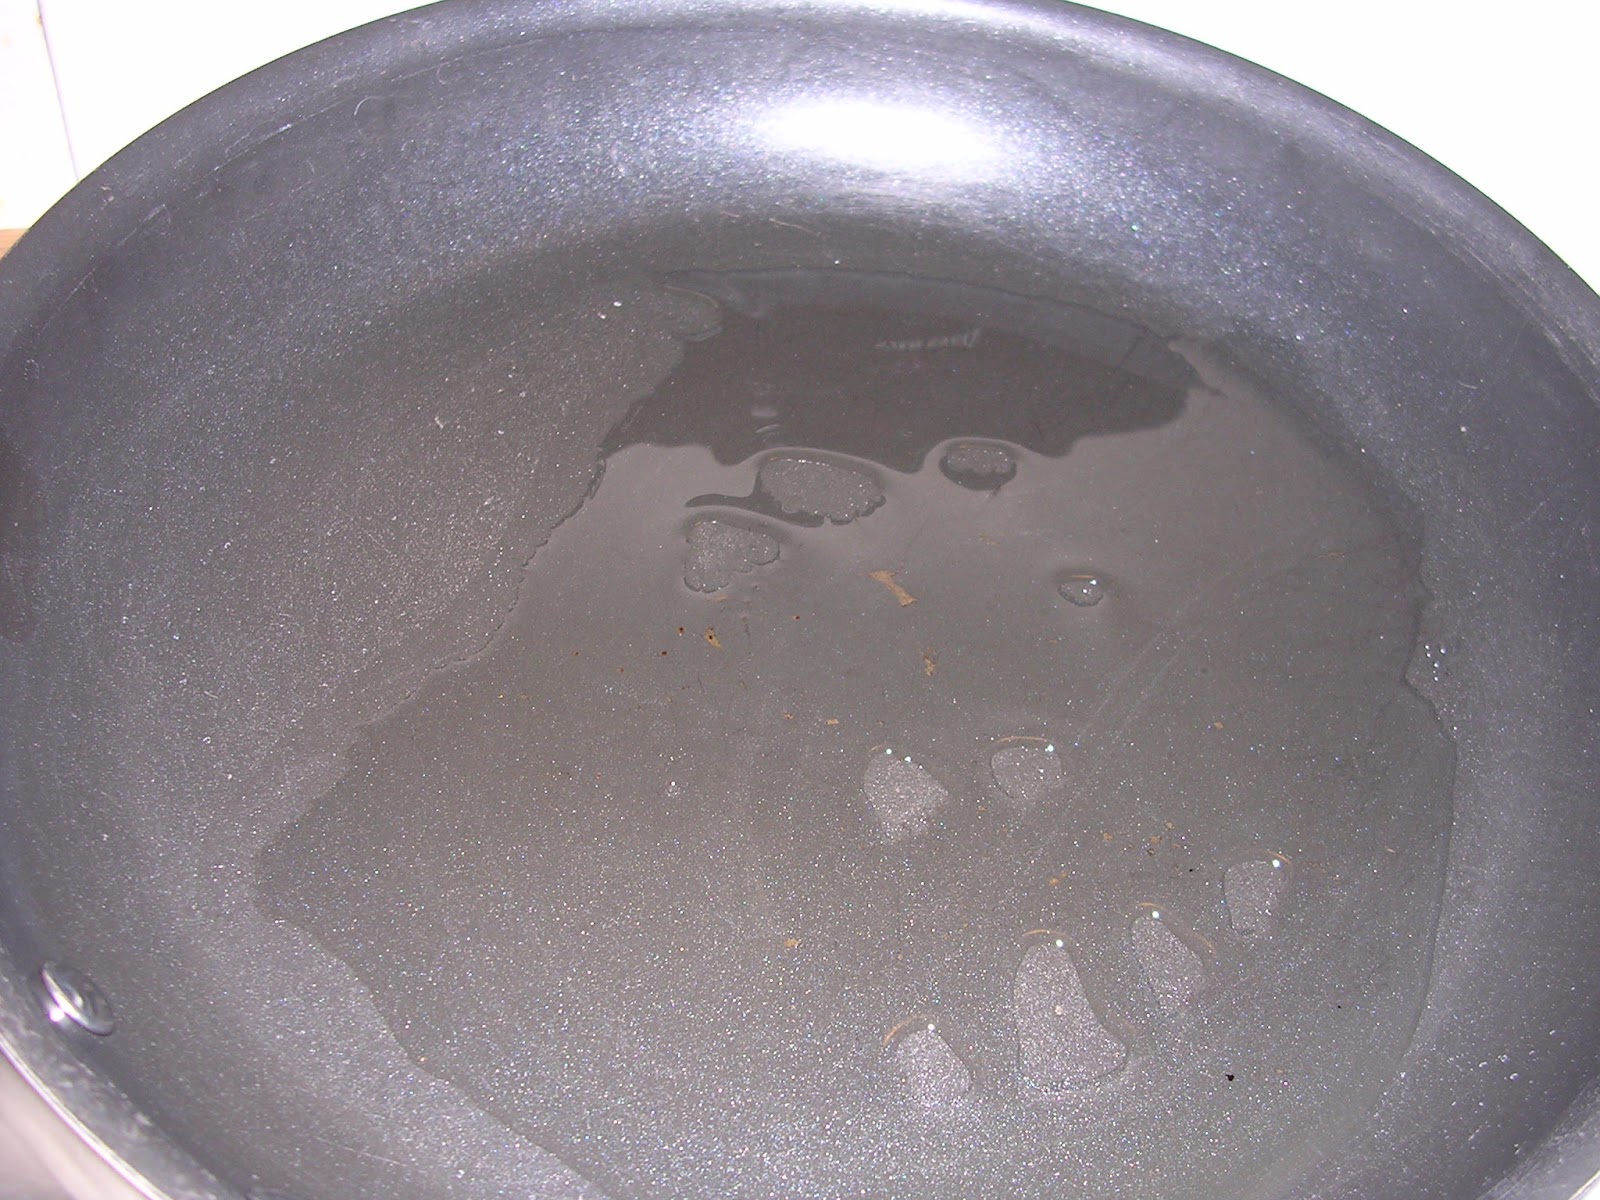
Place a large non-stick pan over medium high heat and add 3 tablespoons of EVOO to it.

Place a large non-stick pan over medium high heat and add 3 tablespoons of EVOO to it.
Olive oil in the pan heating
While the pan is heating, put the 1 cup of flour in a shallow dish, sprinkle with pepper, mix, and set aside.

Put the milk in a different dish. Thoroughly wash the livers and place them in the dish with the milk. Make sure the livers are completely covered with the milk, cover the dish, and set aside.

Cut both ends of the onion off and remove the skin. With a large knife, slice the onion into round slices. Separate the slices.

By now, your pan should be hot enough. Add the onion slices.

**You have a choice to make here. If you prefer to just have your onions “sweated” for a more mellow flavor, you can turn the heat down a bit, cover the pan with a piece of foil or a lid, and cook for about 1 to 2 minutes. You don’t need to move the onions around the pan with this method. “Sweated” onions have a gentler flavor and this method brings out the sweetness. If you prefer to cook your onions more, you can “sauté” them. This will give them a deeper flavor. If you want to sauté them, you will leave the pan uncovered, keeping the heat at medium high. Make sure to stir them periodically to assure that they don’t burn and are evenly cooked. You will see the onion slices turn from “cloudy” looking (raw) to translucent. Another option is to caramelize them. This will take more time. Reduce the heat down to medium. Don’t fuss with the onions until they start to brown. At this point, you should stir them so that the raw portions start to go through the browning process as well. Continue this process until the onions are brown all over. You may have to add more EVOO and lower the heat if they start to get too dry or start to stick to the pan (yes, food can stick in a non-stick pan). Make sure to stir the onions more frequently as they get darker in color so that they don’t burn. The caramelization process may take 20 or more minutes. OR, the last way you can cook your onions, is to just do what feels right to you. I tend to saute’ mine until they are slightly golden and somewhat similar to caramelizing, but not quite as brown as caramelized onions.
Once your onions are prepared the way you like, remove them from the pan, cover in a dish, and set aside. Add the remaining 3 tablespoons of EVOO to the pan and make sure the heat is turned to medium high. Uncover the milk covered livers. As you remove the livers from the milk, lift them up and let as much milk as possible drain off. After each liver is drained, dredge it into the flour dish. Make sure each liver is completely covered in the flour. As you remove each liver from the flour dish, shake it a little to remove the excess flour.

Place each liver in the pan.

**Depending on the size of your livers and pan, you might have to fry them in batches. If you cram them all into the pan at once, they will not fry, but will steam. We want to fry them so they can a slightly crispy “crust” on the outside while sealing in the moisture. Over- frying them will make them too dry and possibly tough. If you crowd the pan, they will steam leaving you with a mess of flour in the pan. If you do prefer to steam them, you would omit the flouring process and cover your pan. I prefer to fry them and therefore sometimes have to cook them in two batches.
Fry the livers for approximately 5- 6 minutes on each side. With the heat at medium high and the thinness of the livers, this should be enough to cook them thoroughly. If you are not comfortable with that amount of time, you may add more time. Just remember that you don’t want to overcook them. Also, remember that eating under- cooking meat can be dangerous.

Once the livers are cooked, remove them from the pan, place in the dish with your onions, and cover.

Now, you will make the gravy for your liver and onions. Sprinkle the 2 tablespoons of flour in the bottom of the pan.

Add the 3 tablespoons of butter to the pan. As the butter starts to melt, move it around in the pan and over the flour.

Once the butter is melted, start to scrape the bits from the bottom of the pan and make sure that the flour, butter, and bits are mixed. Stir constantly for two minutes.

The concoction will start to brown. Even if it takes longer than the two minutes, just keep on stirring and make sure the mixture starts to brown in the pan. Add the wine, broth, or just water to the pan.

**If you don’t have cooking wine you can use regular drinking wine, any kind of broth, or just water. The broths or wines will add a different layer of flavor to the gravy. Experiment with different things and create what flavors you enjoy.
As the gravy starts to bubble it will also start to thicken. This is when you add the 1 cup of water, a little at a time. You need to consider how much gravy you want to make and how thick you want it. Add enough water to make as much gravy as you need and the consistency that you want it. Keep stirring.


Once the gravy is the consistency and amount you want, add the liver and onions to the pan. Stir enough to make sure the gravy is completely covering the onions and liver and that everything is heated up.

You’re done!!! Serve with biscuits to “sop up” the gravy.
