Showing posts with label recipes. Show all posts

Wednesday, October 26, 2011

Faux- McRibs...ain't nobody takin' these away

Growing up, I despised McDonald's McRib sandwiches. There was just something weird about the pork/pickle/onion/BBQ sauce combo to my juvenile palette. Fast forward to adulthood. I've come to quite enjoy the McRib. As we all know, McDonalds takes away and revives the McRib at some seemingly unpredictable intervals. McRib lovers flock to McDonalds when they see those signs telling us that the "McRib is back". I have to admit that when I see those signs, I salivate. And then like a puff of wind, the McRib is gone again. What is a McRib lover to do during the McRib droughts? Make a Faux- McRib!!!!!

The Faux- McRib is rather easy to make.You only need FIVE things to make the sandwiches. The most important feature of the McRib as well as the Faux-McRib is the meat. The meat used in the sandwich is a rib shaped pork patty. I read all of the time about the suspect nature of "pork patties". I say to all who scoff...WHO CARES!?!?!? You are not eating a McRib for it's nutritional value. They are delish and fun to eat...that's the reason they are consumed. I mean, come on. I've never met an actual rack of ribs that look anything like the "pork patty". Therefore, let's just keep it real here. Take a deep breath and don't think about what a "pork patty" is. Just enjoy it. Of course, you might see people trying to convince you to make your own "pork patties" from scratch. I ask--why? Why not just let someone else do the work for you? There are a few companies out there that take care of the "pork patties" for you. On-Cor brand has a nice patty in a BBQ sauce (I'll talk more about the sauce in a bit) that you can find in the freezer section at the grocery store.

On-Cor BBQ Rib Pork Patties
**Photo provided by www.on-cor.com

Banquet makes them too.
Food Product
***Photo courtesy of www.grocerycouponnetwork.com

There are some that come without a sauce as well. The first time I made a Faux-McRib, I used a frozen patty that had no sauce included. It worked out great. Those patties were on sale for $1.50 for 6 of them. I've never been able to find them again. Perhaps they were being discontinued. :-) My most recent Faux-McRibs were the Family Buffet brand that I found at Walmart in the frozen section. These patties come covered in a sauce. The instructions state to microwave for 7 minutes, stir, then cook for another 4 minutes (those times were for my microwave oven wattage). Easy.
Once you've procured the rib shaped "pork patties", you need to make another big decision about your sandwich--the sauce. Fans of the McRib know that the sauce is very sweet--unbearably sweet for some. This is where making the sandwich at home can have an advantage. My first foray into my creation, as I stated previously, was using a non-sauced patty. I poured some inexpensive bottled BBQ sauce on top and it was very similar to the McRib. I, now, do something a little different which creates a less sweet sauce that I've come to prefer. I still use an inexpensive bottle of BBQ sauce, but mix it with the sauce that the pork patties are covered in. I simply pour the BBQ sauce over the cooked patties in the tray they come in and mix well (no need to use any additional bowls). Usually, the sauce that the patties are originally surrounded by isn't as sweet as regular bottled BBQ sauce. Mixing the two together makes the bottled sauce not too sweet. It's just a suggestion. You can do it anyway you please...full strength out of the bottle or not. Experiment. The thing to remember here is that these sandwiches are just to give you your McRib fix until the real thing is available. You might end up making a creation that you feel is better than the beloved McRib.

One other unique thing McDonalds does is with the cut of their onions. Some of their burgers have a minced onion. The McRib has slivers. Simply cut a white onion into rings and then cut the rings into halves. Then cut the halves into half (basically cross- cutting the whole onion slices with a giant "X"). This will make slivered onions.

The last two features of the McRib is a bun and sliced dill pickle chips. You can try to get as close to the original McRib as possible by finding a bun with sesame seeds on top. Or, you can use any kind of bun you prefer. I like to use whole wheat sub rolls. The whole wheat flavor has a sweetness to it similar to a McDonalds bun. Use any kind of sliced dill pickle chips you prefer.

Assembling your Faux- McRib is simple from this point. Heat up the frozen pork patties per the directions and mix up your sauce. Place a patty or two on top of your bun or sub roll along with some of the sauce. Top the patties with pickle and onion. Hope you enjoy your Faux-McRib until the real thing comes back.

Monday, October 17, 2011

Ahhh...chicken

For many years, roasting a whole chicken was frightening to me. There was just something about it that scared me. A roasted chicken seemed like such a big deal. About one year ago, our local Harris Teeter had an amazing sale on roasting hens. Harris Teeter was selling chickens for 59 cents per pound. The most expensive chicken I saw was about $3.50. Most of them were between $2.50- 2.90. If you know anything about the prices of chickens, that's truly a deal. I've seen chickens as expensive as $8-10. Harris Teeter had a 4 chicken purchase limit and I took full advantage of it. I figured I wouldn't feel so guilty ruining a chicken that only cost $3 or less. I roasted the first three chickens in the standard way. I washed them and put them in the oven for the appropriate time and that was that. I decided to do something a little more adventurous with the last chicken. I brined it.

I had heard of brining, but didn't exactly know what it was or its purpose. After much research, I learned that brining makes for a more flavorful and moister poultry. That can't be bad, right? So, I started researching what brine was comprised of. There seemed to be endless recipes for brine. Every single one contained salt. Most of them contained sugar. A few of them had vinegar. Even fewer had some sort of fruit juice or honey. And, even fewer had spices. Considering all of these recipes, I decided to come up with my own method of doing this.

Recently, Harris Teeter has chicken on sale again and it is time to try brining again as well. I thought I would share what I did with everyone. Mr. Bourne and I have been talking about how great the first brined chicken was ever since I made it. Naturally, I decided to recreate the magic (hopefully).

Mr. Bourne found a brining mixture for me. He purchased a box of apple sage flavored brine by Turkey Perfect. I immediately panicked because all of the instructions were for a big turkey. I just had a little 5 pound chicken. So, I did what I do best...I improvised. Here's the recipe:

Improvised brined chicken
***This recipe is adapted for a 5- 6 pound chicken
One 5-6 pound chicken
3/4- 1 cup prepackaged brining mixture
1/2 cup sugar
1/2 cup apple cider vinegar
1/2 cup orange or apple juice
4 cups water
additional cold water as needed

In a pan over medium high heat, combine the brining mixture, sugar, and 4 cups of water until the sugar dissolves. Cool the mixture. Add apple cider vinegar and orange juice. Remove the neck and giblets from the chicken cavity. Rinse the chicken. Place the washed chicken into a large sealable plastic bag. Pour the cooled brining mixture into the bag with the chicken. Add additional water if needed in order to completely cover the chicken with the brining liquid. Seal the plastic bag and place the chicken in the refrigerator to sit overnight. 
When ready to cook the chicken, preheat the oven to 350 degrees. While the oven is heating up, remove the chicken from the brining liquid, discard the liquid, and thoroughly rinse the chicken. Place the chicken into a roasting pan or dish.


Place the chicken in the oven for 1 3/4- 2 1/4 hours. When a thermometer is placed into the breast of the chicken, it should read 180 degrees if it is done. Let the chicken cool which will make it is easier to slice. Viola! The chicken will be moist and the flavors of the brine will be imparted into the meat, but because you thoroughly rinsed the chicken before cooking, it will not be overwhelming. I usually don't eat the skin when I eat chicken, but with brined chicken I can't resist.

Friday, October 7, 2011

Easy recipe for sausage balls

The recipe I'm about to share is a favorite one in our home. There, of course, is a story behind this recipe. For many years ago I cooked Thanksgiving dinner. I want to say to all of you out there that brave making the Thanksgiving dinner...I salute you. I salute you because the Thanksgiving meal is a beast and takes a lot of time to create. For a few years I tried doing a traditional Thanksgiving dinner for Mr. Bourne and myself. I would wake up at some ungodly hour on that day to start my preparations. I would spend days prior to the day planning the correct time to start what parts of the meal so that everything was ready at a reasonable hour (usually around 4 or 5pm). Thanksgiving day was treated like a battle from the moment I woke up until the final forkful went into our mouths. Then there were the endless leftovers. I hated it. Yep, I hated Thanksgiving. I knew on that day that I was going to be on my feet cooking all day and not enjoying the holiday at all and then trying to figure out creative ways to use the leftovers.


Anyway, one of the biggest problems I had with the earlier Thanksgivings was that I was so focused on planning and preparing the dinner that I didn't think about breakfast or lunch. We would end up eating all of the sweet potato casserole before it even got a chance to hit the table because we hadn't planned breakfast or lunch. After two or three years of doing this, I decided that I needed to suck it up and cook yet another meal on Thanksgiving day. Then I had a brilliant idea. I would prepare or cook as much of the breakfast the night before and just heat up whatever the next morning. I needed something that would keep well in the fridge overnight and wouldn't be too complicated to prepare the next morning. I thought of the perfect Thanksgiving breakfast...sausage balls!!! I would prepare them the night before and store them in the fridge overnight. The next morning, I would just heat them in the microwave and we were all ready to eat.


Mr. Bourne and I have, thankfully, abandoned the Thanksgiving meal tradition in our home. Instead, I get to rest on Thanksgiving day and enjoy a wonderful Thanksgiving buffet at one of our favorite restaurants (Wilkerson's Seafood Restaurant in Colonial Beach, VA). I have kept the sausage balls tradition on that morning because we still need breakfast since our buffet meal isn't until 4pm or so. You only need three ingredients for this recipe. The beauty of this recipe is that you can do so much with it. You can add additional spices, use different kinds of sausage, use different kinds of cheese, or add additional ingredients to your liking. If you like spicier foods, you can add chopped jalapenos to the mix. If you like a different kind of cheese, you can use it. If you like a certain type of sausage, go on and use it. If you use "country" sausage, you might want to add some sage or other spices. "Country" sausage doesn't have flavorings added. Most prepackaged sausages are already spiced and require no additional spices. 


Simple sausage balls
1 16 oz roll of sausage
2 cups of shredded cheese (I usually use mild or sharp cheddar, but a stronger cheese like asiago would be amazing in these)
3/4 cup of baking mix (such as Bisquick)
Preheat oven to 375 degrees
Pour shredded cheese into a mixing bowl
Pour the baking mix into the bowl with the shredded cheese and mix them together
Cut open the package of sausage and put into the bowl with the baking mix and cheese.

**Tip: I find that snipping off one end of the sausage packaging with kitchen shears and then cutting straight down one side of the roll helps to cleanly remove the sausage from the package.
With a fork, start to break up the sausage and mix with the baking mix and cheese
Once the sausage is somewhat broken up, get your hands into the mix and start to work the baking mix and cheese into the sausage. 

***There is nothing glamorous or pretty about this step. The ingredients tend to separate and you have to force the baking mix and cheese to stick to the sausage. Do not be alarmed when you see that there is still a great deal of the cheese and baking mix mixture still in the bowl after you've done this step. The next step will take care of this.
Now you are ready to start forming the sausage into balls. As you pinch off chunks of the sausage, you will notice that it feels "sticky" which means that it is not covered in the baking mix and cheese. Take each chunk and flatten it out into the mixture and roll it around in the mixture to pick up as much of the mixture as you can into each ball. Once you have picked up as much of the mixture into the sausage, roll it between your palms to form balls.
                       Notice that with each ball being rolled individually in the mixture, the baking mix gets used up

***At this point, you can store the sausage balls in a container and put them in the fridge if you don't want to cook them right away (for instance, if you form them at night to cook the next morning). If you choose to do this, you will cook the sausage balls at 375 degrees for 16-18 minutes.

Once you have formed all of the sausage balls, set them aside while you put aluminum foil on a baking sheet and spray with cooking spray.
Place the sausage balls into the 375 degree oven for 15 minutes. If you made them smaller and have more of them, cook for 13 minutes. 

Place the cooked sausage balls on a paper towel to soak up some of the oil. 
The sausage balls are either ready to be cooled slightly and eaten or they can be refrigerated and heated up when you are ready to eat them.

***Mr. Bourne loves putting hot sauce on the sausage balls and he says they're "yummy and spicy". 

Note: Please excuse the green frog nightgown. I actually made this one morning right out of bed and wanted to catch the action for my blog. :-)


Saturday, October 1, 2011

Soul food, again...calf liver recipe

My pan gravy success from my previous blog entry had me thinking about typical soul/Southern foods. One of my favorite soul foods growing up was calf livers. Back in 1995, I suffered from severe anemia. One of the suggested foods I could infrequently eat in order to get more iron was liver. I recently had a physical and my iron levels were low, so I decided to eat some livers. Of course, liver isn't the only good source of iron. I just wanted some livers and getting the iron was an added bonus. 

I rarely take the time to fix livers myself even though they are very simple to prepare. I think one of the reasons so many people don't like the taste of liver is that they choose beef liver over calf liver. Beef liver has a strong flavor, whereas calf liver is milder. Due to this strong flavor, beef liver reminds people of its purpose more than calf liver does. Calf liver can sometimes be hard to come by, forcing people to select beef liver. I was lucky enough to find calf liver in the freezer section in the grocery store. Another reason people may be turned off by livers is that they have no idea how to fix them. Well, now you know how to prepare the delicious dish at least one way. So here we go...

Pan fried calf liver with onions and pan gravy

This dish is an old school classic. Whether you call it soul food or simply Southern food, it’s definitely comfort food. The wonderful thing about this dish is that it can be cooked in just one pan. If you are slightly anemic, as I am, this dish if chocked full of iron. Calf liver goes great with biscuits, hash browns, and eggs for breakfast. It also goes great with biscuits, mashed potatoes, and veggies for dinner.

1 package of calf liver
1 large onion (can be any kind or combination of kinds you enjoy as long as it’s the equivalent of one large one)
1 cup of milk (can be any amount of fat content)
1 cup of flour (2 Tablespoons reserved) 
3 Tablespoons of butter
½ cup white or red wine (cooking or regular) OR beef broth (each will have distinctly different flavors)
6 Tablespoons EVOO(extra virgin olive oil)
1 cup of water
Salt
Pepper

                                           The ingredients you will need (sans the water)
Defrost the package of calf liver. 

 
Place a large non-stick pan over medium high heat and add 3 tablespoons of EVOO to it. 
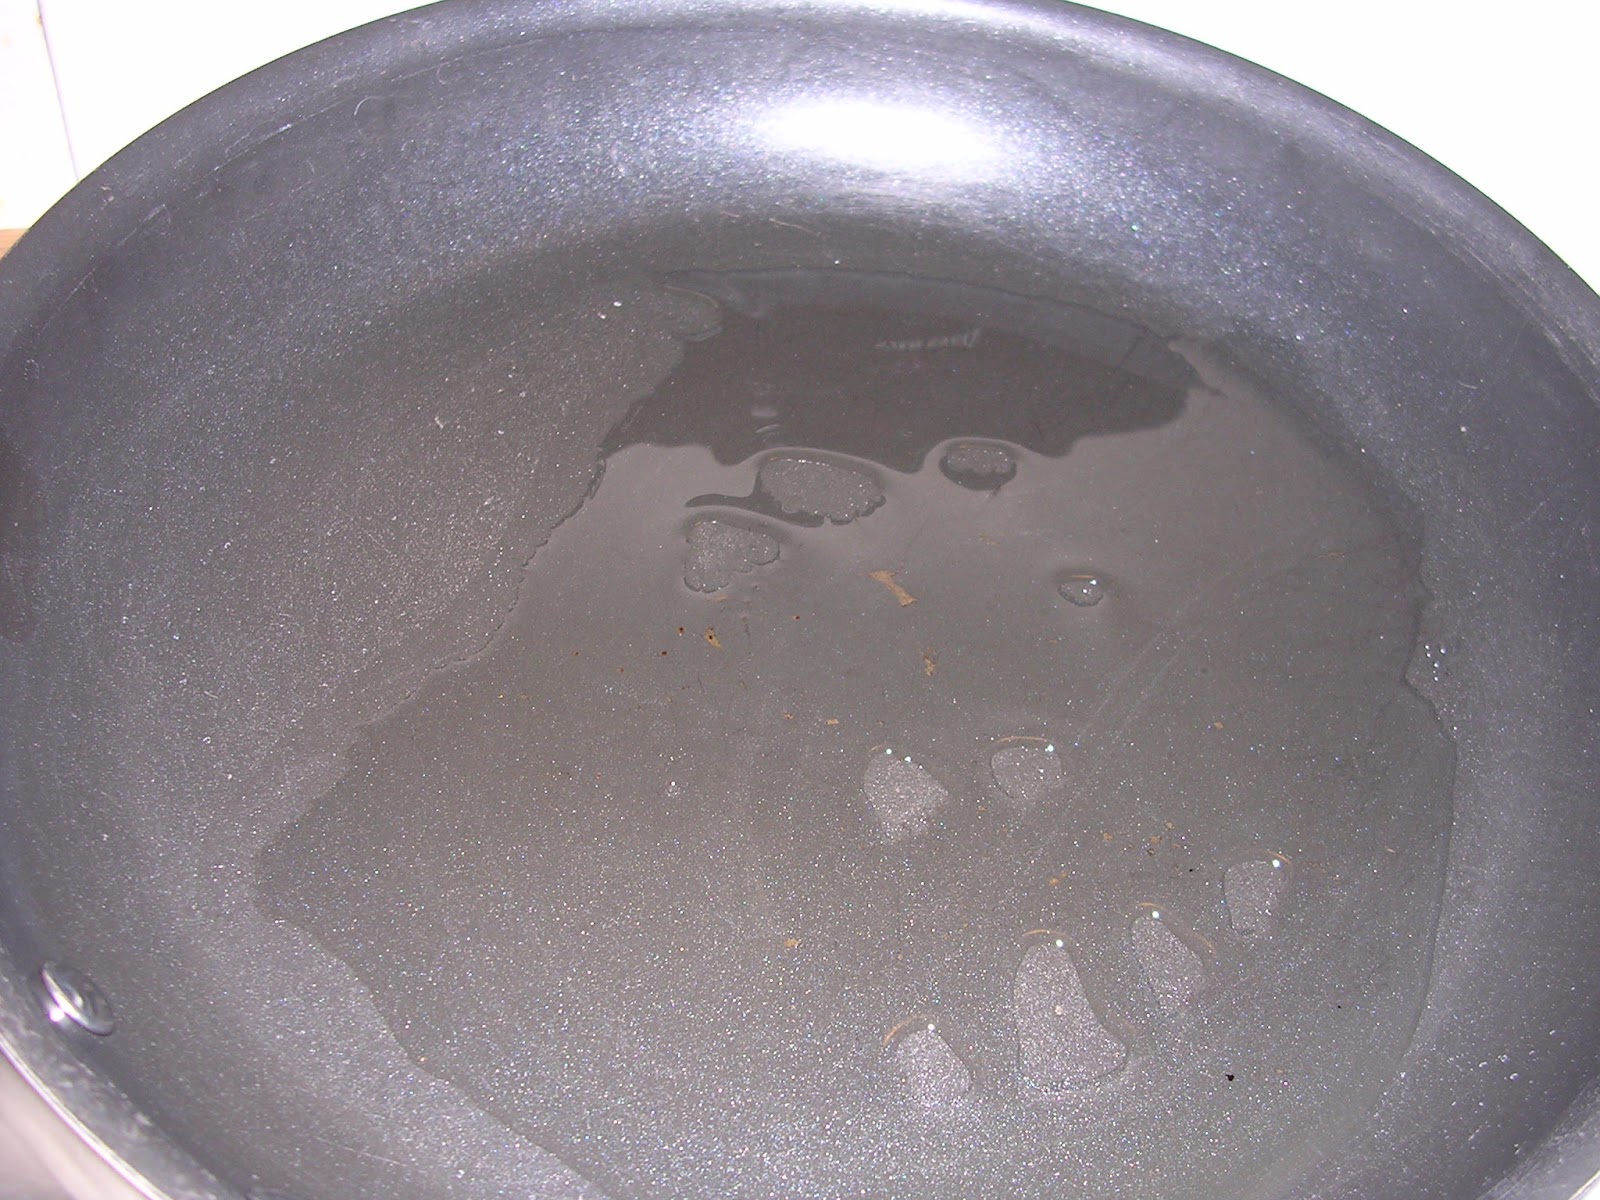
                                                          Olive oil in the pan heating

While the pan is heating, put the 1 cup of flour in a shallow dish, sprinkle with pepper, mix, and set aside. 

 Put the milk in a different dish. Thoroughly wash the livers and place them in the dish with the milk. Make sure the livers are completely covered with the milk, cover the dish, and set aside.   

Cut both ends of the onion off and remove the skin. With a large knife, slice the onion into round slices. Separate the slices. 
By now, your pan should be hot enough. Add the onion slices. 


                **You have a choice to make here. If you prefer to just have your onions “sweated” for a more mellow flavor, you can turn the heat down a bit, cover the pan with a piece of foil or a lid, and cook for about 1 to 2 minutes. You don’t need to move the onions around the pan with this method. “Sweated” onions have a gentler flavor and this method brings out the sweetness. If you prefer to cook your onions more, you can “sauté” them. This will give them a deeper flavor. If you want to sauté them, you will leave the pan uncovered, keeping the heat at medium high. Make sure to stir them periodically to assure that they don’t burn and are evenly cooked. You will see the onion slices turn from “cloudy” looking (raw) to translucent. Another option is to caramelize them. This will take more time. Reduce the heat down to medium. Don’t fuss with the onions until they start to brown. At this point, you should stir them so that the raw portions start to go through the browning process as well. Continue this process until the onions are brown all over. You may have to add more EVOO and lower the heat if they start to get too dry or start to stick to the pan (yes, food can stick in a non-stick pan). Make sure to stir the onions more frequently as they get darker in color so that they don’t burn. The caramelization process may take 20 or more minutes. OR, the last way you can cook your onions, is to just do what feels right to you. I tend to saute’ mine until they are slightly golden and somewhat similar to caramelizing, but not quite as brown as caramelized onions.

Once your onions are prepared the way you like, remove them from the pan, cover in a dish, and set aside. Add the remaining 3 tablespoons of EVOO to the pan and make sure the heat is turned to medium high. Uncover the milk covered livers. As you remove the livers from the milk, lift them up and let as much milk as possible drain off. After each liver is drained, dredge it into the flour dish. Make sure each liver is completely covered in the flour. As you remove each liver from the flour dish, shake it a little to remove the excess flour. 
                                                     Livers getting coated in flour
Place each liver in the pan.

**Depending on the size of your livers and pan, you might have to fry them in batches. If you cram them all into the pan at once, they will not fry, but will steam. We want to fry them so they can a slightly crispy “crust” on the outside while sealing in the moisture. Over- frying them will make them too dry and possibly tough. If you crowd the pan, they will steam leaving you with a mess of flour in the pan. If you do prefer to steam them, you would omit the flouring process and cover your pan. I prefer to fry them and therefore sometimes have to cook them in two batches.


Fry the livers for approximately 5- 6 minutes on each side. With the heat at medium high and the thinness of the livers, this should be enough to cook them thoroughly. If you are not comfortable with that amount of time, you may add more time. Just remember that you don’t want to overcook them. Also, remember that eating under- cooking meat can be dangerous.
Once the livers are cooked, remove them from the pan, place in the dish with your onions, and cover. 
Now, you will make the gravy for your liver and onions.  Sprinkle the 2 tablespoons of flour in the bottom of the pan. 
Add the 3 tablespoons of butter to the pan. As the butter starts to melt, move it around in the pan and over the flour.  
Once the butter is melted, start to scrape the bits from the bottom of the pan and make sure that the flour, butter, and bits are mixed. Stir constantly for two minutes. 
The concoction will start to brown. Even if it takes longer than the two minutes, just keep on stirring and make sure the mixture starts to brown in the pan. Add the wine, broth, or just water to the pan. 
**If you don’t have cooking wine you can use regular drinking wine, any kind of broth, or just water. The broths or wines will add a different layer of flavor to the gravy. Experiment with different things and create what flavors you enjoy.
 
As the gravy starts to bubble it will also start to thicken. This is when you add the 1 cup of water, a little at a time. You need to consider how much gravy you want to make and how thick you want it. Add enough water to make as much gravy as you need and the consistency that you want it. Keep stirring.

Once the gravy is the consistency and amount you want, add the liver and onions to the pan. Stir enough to make sure the gravy is completely covering the onions and liver and that everything is heated up.
You’re done!!! Serve with biscuits to “sop up” the gravy.
Enjoy!!!